If you’re looking to improve the lighting in your home or office, recessed lights, also known as can lights or downlights, provide a sleek and contemporary lighting option that can elevate any space. Though installing recessed lights may seem overwhelming, with proper guidance and a bit of knowledge, you can complete this project with ease. This step-by-step guide will take you through the process of installing recessed lights, ensuring a successful and polished result.
1. Planning and Preparation
Before diving into the installation process, it’s important to plan and prepare accordingly. This will ensure a smooth installation and minimize any potential issues down the line.
Determining the Location
The first step is to determine where you want to install the recessed lights. Take into consideration the purpose of the lighting, the layout of the room, and any existing lighting fixtures. Creating a lighting plan will help you identify the ideal locations for the lights and ensure even distribution.
Calculating the Number of Lights Needed
Determining the right number of recessed lights for your space is essential to achieve optimal lighting distribution and avoid over- or under-illumination. Here’s a step-by-step process to help you calculate the number of lights needed:
- Measure the Room: Begin by measuring the length and width of the room where you plan to install the recessed lights. Multiply these measurements to determine the square footage of the area.
- Determine Light Spacing: Consider the recommended spacing between recessed lights. As a general rule, the spacing should be around half the ceiling height. For example, if your ceiling is 8 feet high, the spacing between lights should be approximately 4 feet.
- Calculate the Number of Lights: Divide the total square footage of the room by the area covered by each recessed light. This will give you an estimate of the number of lights needed. For instance, if each light covers an area of 25 square feet, and your room is 200 square feet, you would need 8 lights (200 / 25 = 8).
- Account for Task Lighting: Consider the specific lighting requirements for different areas within the room. If you have a workstation or specific task areas that require extra lighting, you may need to add additional recessed lights in those spots.
- Consider Lighting Design: Think about the desired lighting design and ambiance. You may want to add more lights to accentuate certain features or create a specific lighting effect. Balance functionality with aesthetics to achieve the desired outcome.
- Consult Lighting Guidelines: It’s beneficial to consult lighting guidelines or seek advice from lighting professionals to ensure accurate calculations based on the room size, purpose, and other factors specific to your space.
By following these steps and taking into account the unique characteristics of your room, you can accurately determine the number of recessed lights needed for a well-lit and visually appealing environment.
Gathering the Necessary Tools and Materials
To ensure a smooth and efficient installation of recessed lights, it’s crucial to gather all the necessary tools and materials beforehand. Here’s a list of the essential items you’ll need:
- Recessed Light Fixtures: Choose high-quality recessed light fixtures that match your desired style and lighting requirements. Here are some options to consider:
- Hole Saw or Template: Depending on the type of recessed light fixtures you’re using, you’ll need a hole saw or a template to cut holes in the ceiling. Consider these options:
- Wire Strippers: Wire strippers are necessary to remove the insulation from the electrical wires. Look for a reliable wire stripper tool like this one:
- Electrical Tape: Electrical tape is used to secure wire connections and provide insulation. Make sure to have a roll of high-quality electrical tape available:
- Voltage Tester: A voltage tester is crucial for checking whether the power is off before working with the electrical components. Consider using a reliable voltage tester like this one:
- Screwdriver: A good-quality screwdriver is essential for various tasks during the installation process. Choose a screwdriver with interchangeable tips for versatility:
- Wire Nuts: Wire nuts are used to securely connect wires. Make sure to have an assortment of wire nuts in different sizes:
- Electrical Wires: You’ll need electrical wires to connect the recessed light fixtures to the power source. Choose the appropriate gauge and length for your installation:
- Insulated Ceiling Boxes (if needed): If you’re installing recessed lights in an insulated ceiling, you may require insulated ceiling boxes. Consult the manufacturer’s guidelines and choose suitable boxes if necessary:
- Cable Staples or Clips: Cable staples or clips are used to secure the electrical wires to the ceiling joists or studs. Ensure you have the appropriate size and type for your wiring:
- Cable Staples
- Cable Clips
Having the necessary tools and materials readily available will save you time and ensure a smooth installation process. Be sure to choose high-quality products for reliable and long-lasting results.
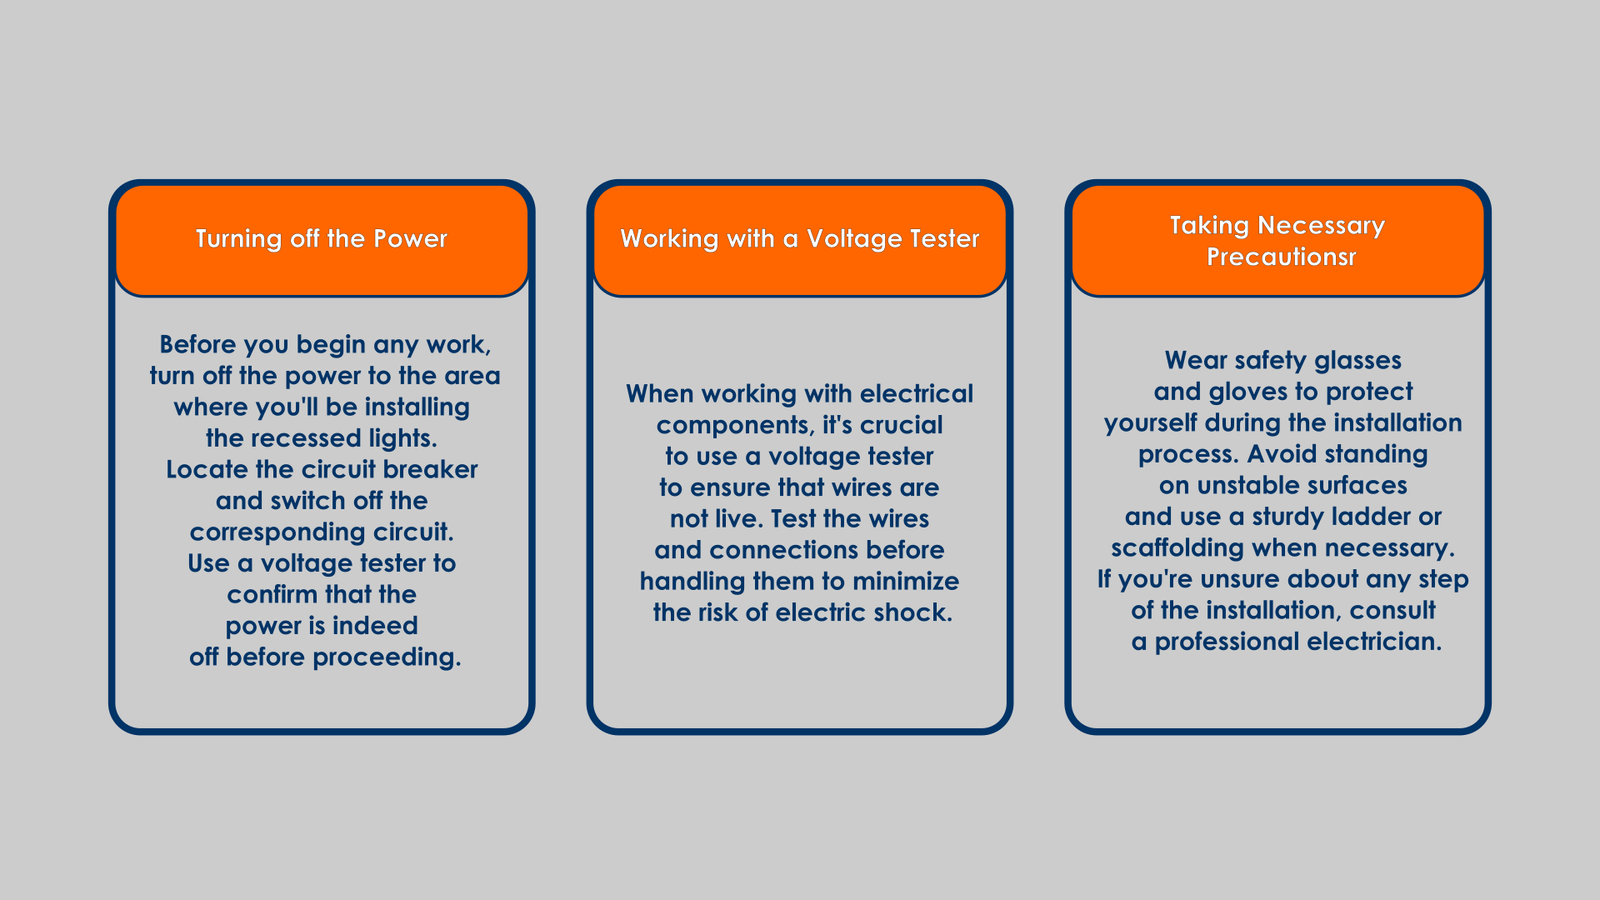
2. Safety First
Safety should always be your top priority when working with electrical installations. Follow these precautions to ensure a safe and successful project.
3. Cutting the Holes
Once you have planned and taken the necessary safety precautions, it’s time to cut the holes for your recessed lights.
Marking the Locations
Using your lighting plan as a guide, mark the locations on the ceiling where the lights will be installed. Double-check the measurements and ensure they align with your desired layout.
Using a Hole Saw or a Template
To cut the holes, you can use a hole saw or a template specifically designed for recessed lights. Follow the manufacturer’s instructions for your chosen method and cut holes according to the marked locations.
Cutting Through the Ceiling
Carefully cut through the ceiling along the marked lines. Take your time to ensure clean and precise cuts. Remove any debris or loose material from the holes.
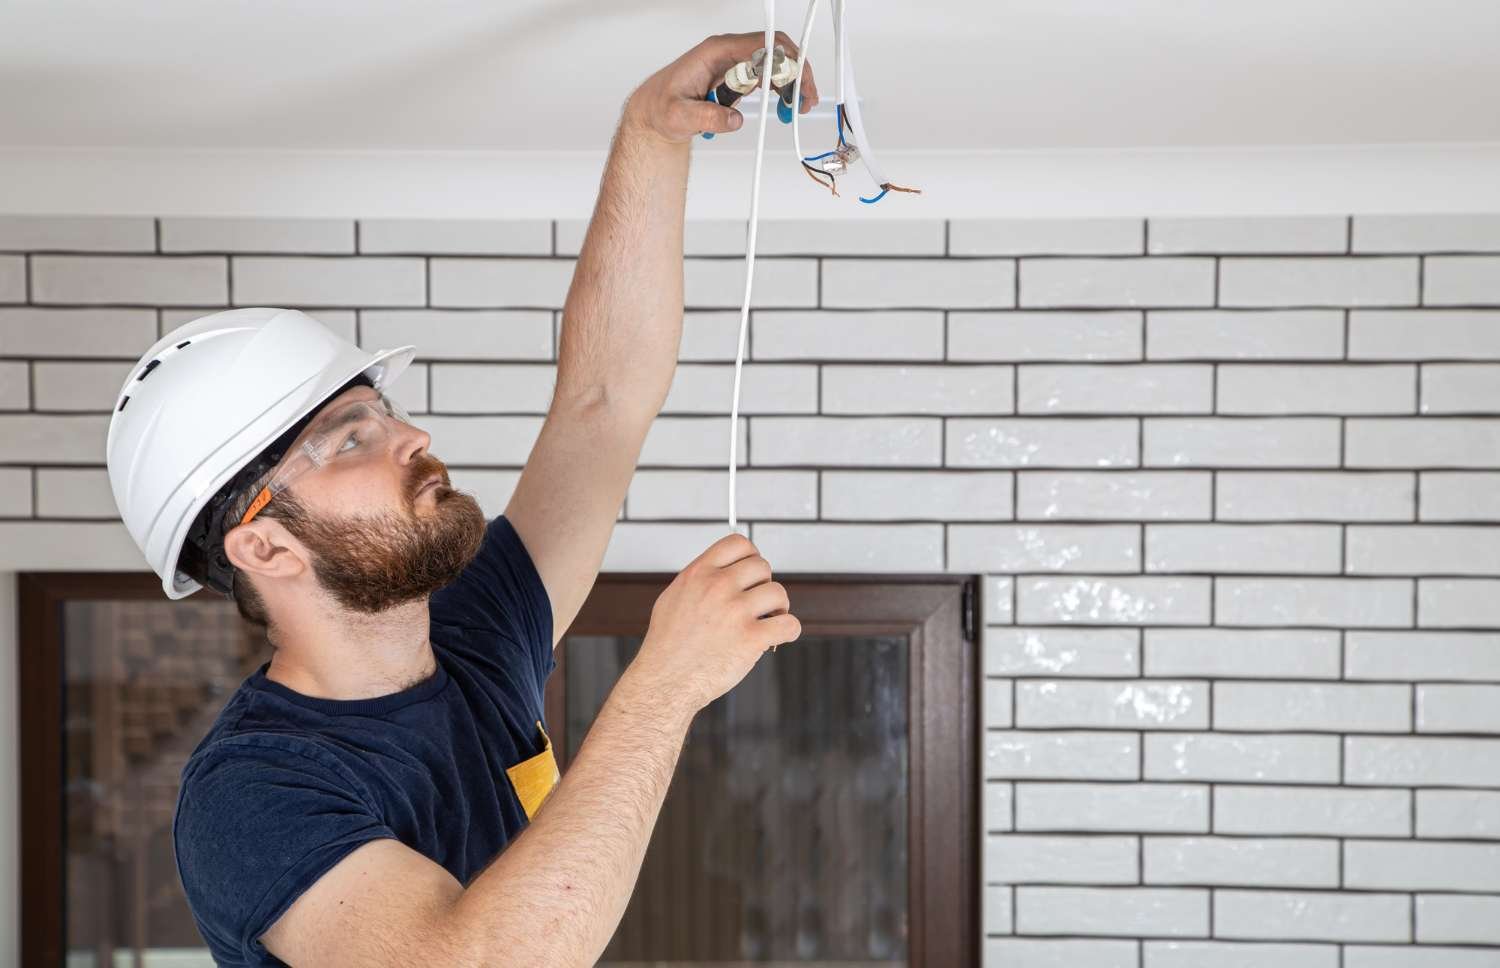
4. Wiring the Lights
With the holes in place, it’s time to wire the recessed lights. This step involves running electrical wires and connecting them properly.
Running Electrical Wires
To install recessed lights, use a fish tape or a similar tool to run electrical wires from the existing electrical source to the desired locations. Make sure to conceal the wires properly and adhere to local electrical codes.
Connecting the Wires to the Lights
Strip the ends of the electrical wires and connect them to the wires in the recessed light fixtures. Use wire nuts to secure the connections and cover them with electrical tape for added protection.
Securing the Wiring Properly
Properly secure the wiring to prevent any strain or movement. Use cable staples or clips to fasten the wires to the ceiling joists or studs. Ensure the wiring is neat and organized to facilitate future maintenance or repairs.
5. Mounting the Light Fixtures
Now that the wiring is complete, you can mount the recessed light fixtures into the ceiling.
Inserting the Recessed Light Housing
Carefully insert the recessed light housing into the holes you cut earlier. Ensure they fit snugly and are flush with the ceiling surface.
Adjusting the Housing and Securing It in Place
Depending on the type of housing, you may need to adjust the mounting brackets or clips. Follow the manufacturer’s instructions to secure the housing in place. Ensure a tight fit to maintain a seamless appearance.
Installing the Trim or Baffle
Attach the trim or baffle to the recessed light housing, following the manufacturer’s instructions. These components provide a finished look to the lights and help direct the light output in the desired direction.
6. Testing and Finishing Touches
With the lights installed, it’s crucial to test them and make any final adjustments for optimal performance.
Turning the Power Back On
After completing the installation, turn the power back on at the circuit breaker. Test each recessed light to ensure it’s functioning correctly. If any lights don’t turn on or exhibit issues, double-check the wiring and connections.
Testing the Lights
Assess the lighting levels and adjust the trim if necessary. Fine-tune the direction and angle of the light to achieve the desired ambiance and illumination.
Adjusting the Trim and Final Adjustments
If needed, adjust the trim or baffle to align with the surrounding ceiling and achieve a seamless appearance. Make sure the trims are evenly spaced and aligned for a professional finish.
7. Common Mistakes to Avoid
While installing recessed lights, it’s important to be aware of common mistakes that can compromise the quality and safety of the installation. Here are a few mistakes to avoid:
Overlooking Safety Precautions
Always prioritize safety when working with electrical components. Follow safety guidelines, turn off the power, and use proper protective equipment throughout the installation process.
Improperly Calculating Spacing
Ensure proper spacing between recessed lights to achieve uniform lighting distribution. Improper spacing can result in uneven illumination or shadows. Follow lighting guidelines and consult with professionals if needed.
Neglecting Insulation Requirements
If you’re installing recessed lights in an insulated ceiling, it’s crucial to choose fixtures that are rated for insulation contact (IC-rated). IC-rated fixtures are designed to be installed safely in insulated ceilings without creating a fire hazard.
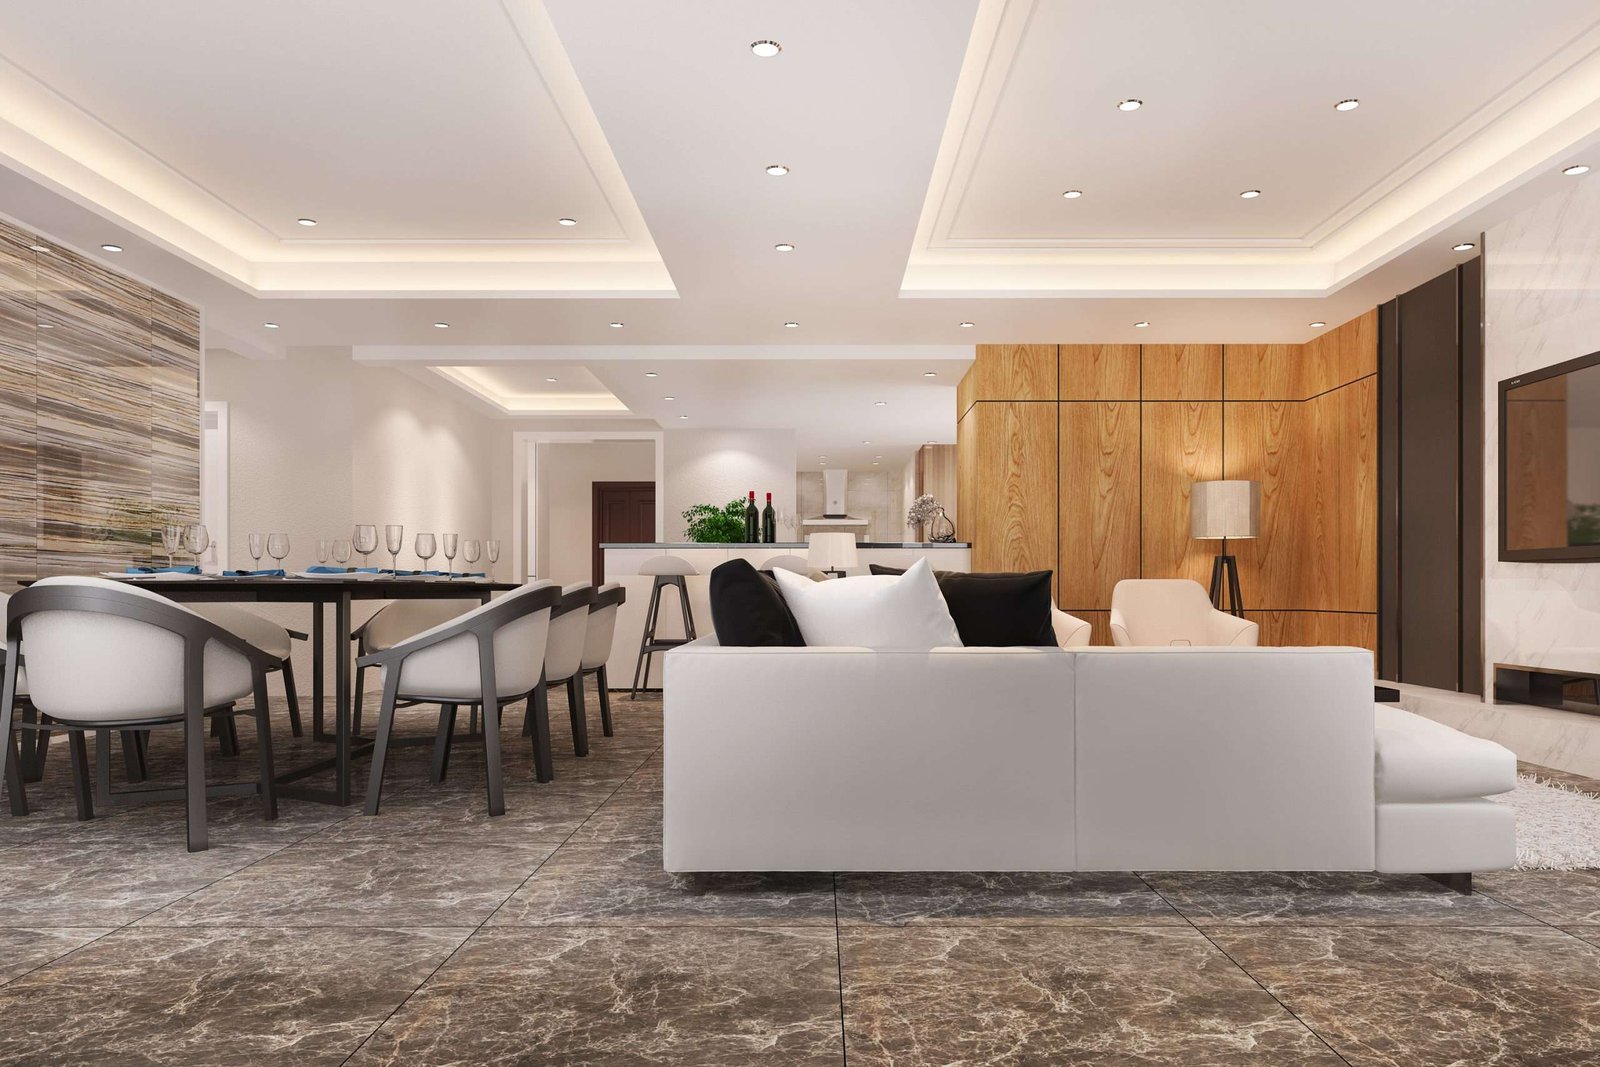
8. Benefits of Recessed Lighting
Recessed lighting offers several benefits that make it a popular choice for homeowners and businesses alike. Here are some advantages of installing recessed lights:
Enhanced Aesthetics and Ambiance
Recessed lights provide a clean and modern look that adds a touch of sophistication to any space. They create a streamlined appearance without taking up valuable space or interfering with the overall design.
Increased Energy Efficiency
Compared to traditional lighting fixtures, recessed lights are energy-efficient. They focus the light where it’s needed, minimizing wasted energy and reducing electricity costs over time.
Flexibility in Lighting Design
Recessed lights offer versatility in lighting design. With adjustable trims, you can control the direction and intensity of the light, allowing you to create various lighting effects and highlight specific areas or objects.
9. Conclusion
Installing recessed lights can significantly enhance the lighting aesthetics and functionality of your space. By following this step-by-step guide, you can confidently tackle the installation process and achieve professional results.
Remember to plan and prepare thoroughly, prioritize safety precautions, and pay attention to spacing and insulation requirements. With proper installation, recessed lights can transform your home or office into a well-lit and inviting environment.
10. FAQs
- How much does it cost to install recessed lights? The cost of installing recessed lights varies depending on factors such as the number of lights, the complexity of the installation, and any additional electrical work required. It’s best to consult with a professional electrician for an accurate cost estimate.
- Can recessed lights be installed in any type of ceiling? Recessed lights can be installed in most ceiling types, including drywall, drop ceilings, and even sloped ceilings. However, different types of housings and installation methods may be required based on the ceiling material and structure.
- Do recessed lights require special bulbs? Recessed lights typically use standard light bulbs, such as LED or incandescent bulbs. However, it’s important to check the manufacturer’s recommendations for the compatible bulb types and wattage for your specific recessed light fixtures.
- Can I install dimmers for recessed lights? Yes, recessed lights can be installed with dimmer switches to control the brightness and create different lighting moods. Make sure to choose dimmable recessed light fixtures and compatible dimmer switches for smooth and reliable dimming functionality.
- Are there any alternatives to recessed lights? Yes, if recessed lights don’t align with your preferences or the layout of your space, there are alternative lighting options to consider. Some alternatives include track lighting, pendant lights, or surface-mounted fixtures. Explore different lighting styles to find the one that best suits your needs and aesthetic preferences.
Remember, always consult with a professional electrician if you have any doubts or concerns during the installation process.